What is Tinkercad?
Tinkercad is a 3D modeling software in which you can create many objects using a variety of simple and complex blocks, holes, and many other tools. You can combine simple blocks to make more complex objects and group them together. All objects can be modified in numerous ways, such as in size, shape, color, and more specific things such as how sharp the corners of an object are. All objects you create on Tinkercad can also be 3D printed.

Widget Sketches
Widget 5 Step by Step
|
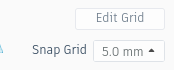
1. Change the snap grid to 5.0 mm. This is optional but can make it easier to move parts together.
|
|
|

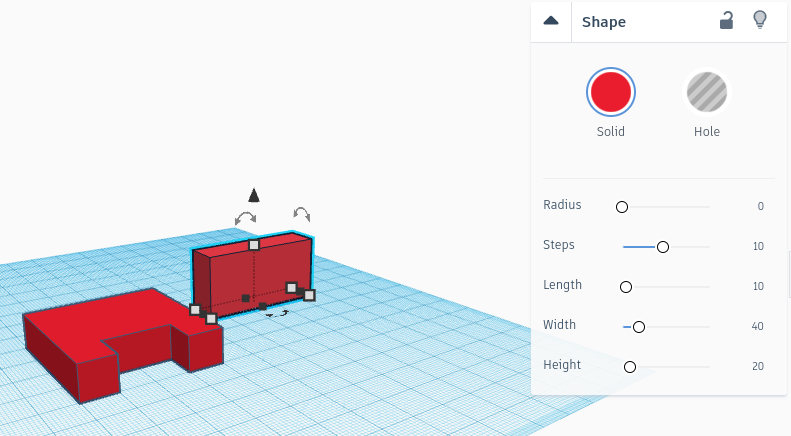
3. Create a 10x20x10 hole block and center it in the front face of the widget. Use the group function to finish creating the hole.
|
2. Create the base of the widget. It should be 40x40x10.
|


5. Use the ruler tool to elevate the block to ten blocks above the grid, and then line it up with the back of the base and use the group tool again.
|
4. Create a 10x40x20 block.
|


|
|
6. Create a 10x20x10 hole block and raise it to an elevation of 20 using the ruler tool. Center it on the back face of the widget.
|


|
7. Create a 10x10x10 wedge block and use the ruler tool to raise the elevation to 30. Copy and paste the wedge to create another one.
|
|


|
|
8. Move the wedges to the two tops of the widgets. Then rotate them so that they face outwards.
|


|
9. The final step is to group all of the parts together.
|
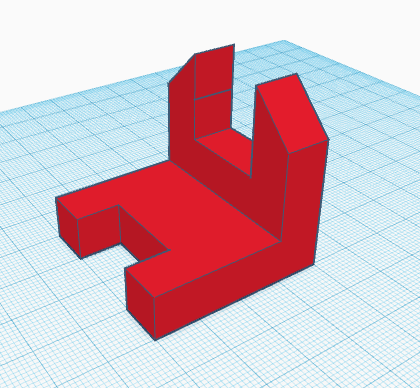
Finished widget
|


Widgets 1-6, in order
Setting Up My Print
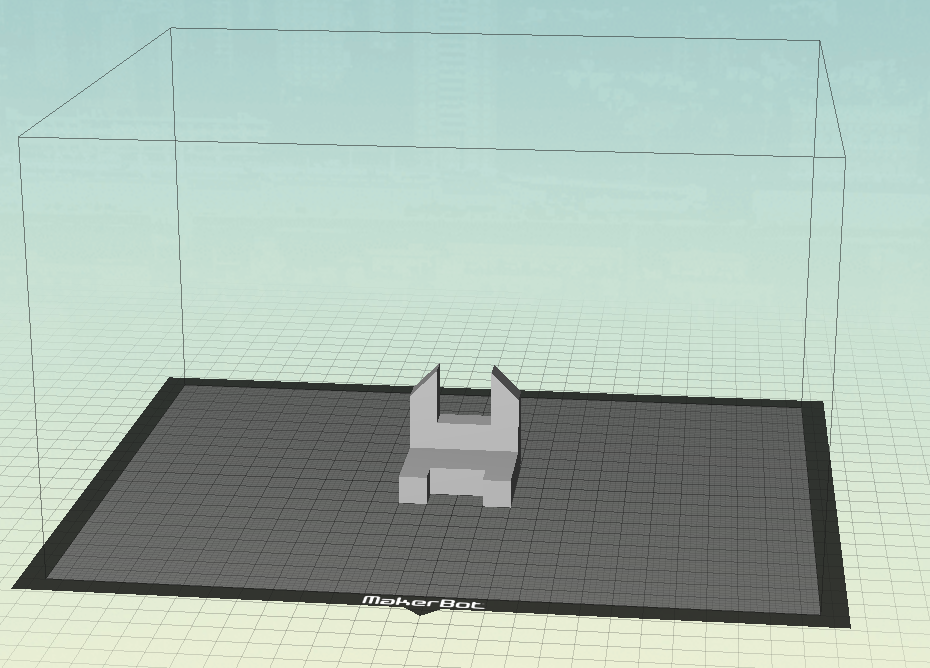
After saving the widget as an .stl file, I opened the file in makerbot.

|
|
Next, I changed the scale to 25.4 mm (1 inch) so the widget would fit inside a 1x1x1 cube.

Finally, make sure that the widget is on the best side to be printed without needing supports. I did this by changing the x value. . Make sure that it is flat by clicking the lay flat button.

Finally, I saved the file by clicking preview, export and then save.

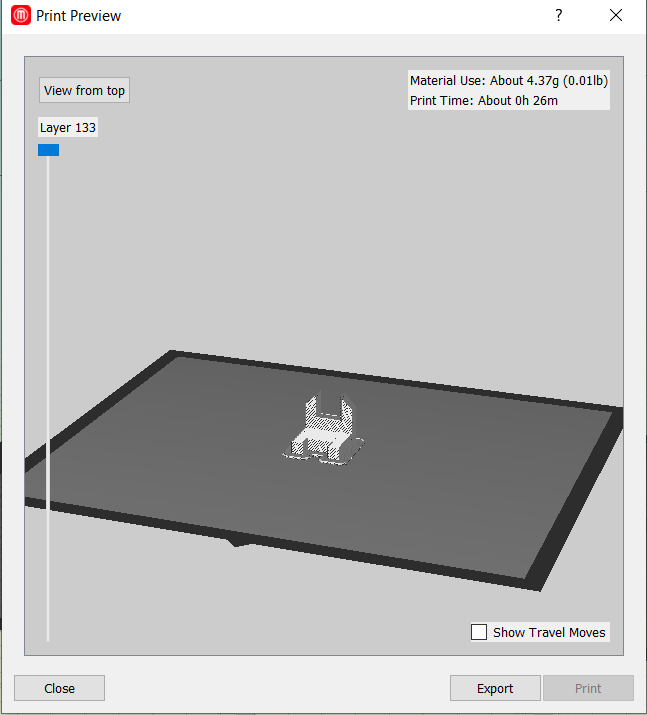
Makerbot print preview
What I Learned
During this project, I developed many skills. I practiced drawing objects on isometric graphing paper. While making the 6 widgets, I learned how to use 3D modeling software such as Tinkercad. I also learned about the program Makerbot and how to use it to prepare files to be 3D printed.
